Once I felt comfortable with basic sewing skills, it was time to try something useful: winch covers! Winches are exposed to all manner of grit, grime, water, and salt, all of which will shorten their lifespan. They are also the smallest canvas project on the boat, and thus they made a good first project. We needed to test the Sparrow with heavier thread and canvas. Better to find out by starting small than launching into that sail cover project.
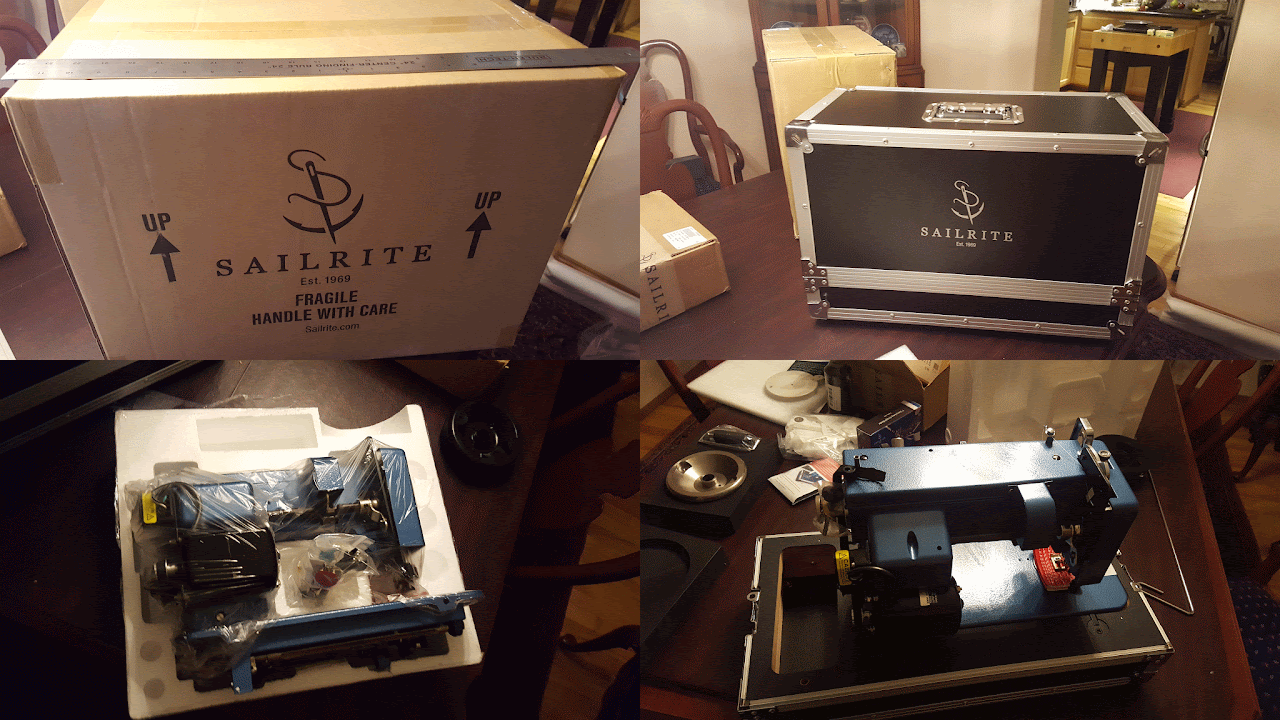
We ordered a winch cover kit from
Sailrite. The cost was comparable to ordering all the supplies separately, and it came with instructions. If you are interested in do-it-yourself boat projects, their website is full of free video tutorials with explicit step-by-step instructions. Bonus: I find the narrator's voice soothing. This project (and others) would have involved a lot more swearing without the advantage of videos from Sailrite and the multitude of people who have posted instructional videos on YouTube. Thanks, internet!
I sewed the first winch cover on the Sparrow, but I had to resort to hand stitching to install the shock cord. Multiple layers of
Sunbrella were difficult to get through; adding the shock cord overwhelmed the machine.
This test of the Sparrow told us what we already suspected: in order to do all the canvas projects we had planned, we would need to invest in more robust machine.
 |
| Behold the LSZ-1 |
The LSZ-1 arrived shortly after we started a month-long house-sitting stay. Our two big goals for the month were to replace many cracked, hazy windows and broken zippers in our cockpit cover and to build the new sail cover.
Again, I wanted to start small and get a feel for the new machine. We ordered more fabric, thread, and shock cord for the remaining winch covers. I immediately killed our hot knife, so Wayne went in search of a new one. That one lasted less than ten seconds before burning out! So we salvaged the parts that seemed useful and ordered
one from Sailrite, which has lasted through multiple projects and will hopefully continue to serve us for a long time.
Wayne: Don't cheap out on the hot knife. Seriously. As of this writing, I would not trust any hot knife on that big internet retailer (BIR) that rhymes with scamazon. Maybe Hercules does actually make decent hot knives, maybe they are all garbage; we do know, however, that both of those hot knives died quickly and that BIR has a really bad counterfeit problem. The first hot knife lasted maybe ten minutes of cutting (yes, I
do know how to use a hot knife). The second, more expensive, "continuous use" model lasted less than ten seconds. Ten. Seconds. Just get the Sailrite knife. If you are going to be doing a lot of work, Seattle Fabrics and others strongly suggest the HSGM line of heat tools. For now, Sailrite's knife is performing very well for us.
The exterior of the Sparrow is mostly plastic, and the whole thing is light, easily moved in and out of its storage locker and carrying case. It whirs along making tiny stitches with fine thread. In contrast, the LSZ-1 is burly. It is solid metal and weighs in at about 50 pounds. It comes with detailed maintenance instructions and is meant to be repaired by the user. The smallest stitch on this machine is much longer than the longest stitch on the Sparrow. It devours canvas, leather, and vinyl, and would no doubt eat my fingers for breakfast.
 |
| Winch cover success! |
It took some practice to dial in the settings on the new machine. Working with
Tenara (heavy duty UV- and salt water-resistant outdoor thread) was much more difficult than we anticipated. It knotted easily and required a lot of seam-ripping and tension adjustment, but we eventually found the sweet spot.
Onward to window and zipper repairs!
 |
| Zipper fatigue was rife. |
Zipper repairs were relatively straightforward. I had installed three invisible zippers in my skirt projects on the Sparrow, so I was confident in my ability to replace the much larger ones in the cockpit cover. This provided some good practice before attempting the more daunting task of replacing the vinyl windows.
To replace the windows, we laid out the cover on the floor with the old window intact and traced the shape onto the new sheet of vinyl. Then we cut the new vinyl to the right size, checked the fit, and sewed on the new vinyl right over the old. I had not realized how hazy and cracked the old windows were until I saw them against the new ones. What a difference!
 |
| We broke a piece of the old vinyl out after sewing on the new vinyl to show the contrast. |
The old vinyl was milky, stiff, and hard to see through. It cracked and shattered and was difficult to remove. The new vinyl is supple and can be cut easily with a seam ripper. The old material was jagged and hard enough to cut our fingers. Tiny fragments of old vinyl went everywhere, and we vacuumed it up for days. Pro tip: don't wait this long to replace your windows.
Reinstalling the cover was harder than anticipated. We pulled and shifted for a long time (in the rain, of course) before we could get all the zippers to line up again. There are a lot of pieces that fit over a frame and attach to the deck, and the material does not stretch at all. We couldn't get the last few zippers to line up, but at least we could keep most of the rain out. A few days later, we went back and tried again, and they aligned with minimal effort. Voila!
 |
| No leaks! So transparent! |
 |
| Full cockpit covers may be ugly, but cold weather and rainy sailing are way more fun with the cover. |


Comments
Post a Comment